NOTE: I have updated the list with just the remaining items!
If you’re interested in any of the following items please email me at info@jennifersoap.com with the items you’d like and you’re shipping address so I can calculate shipping. Thanks! Jennifer
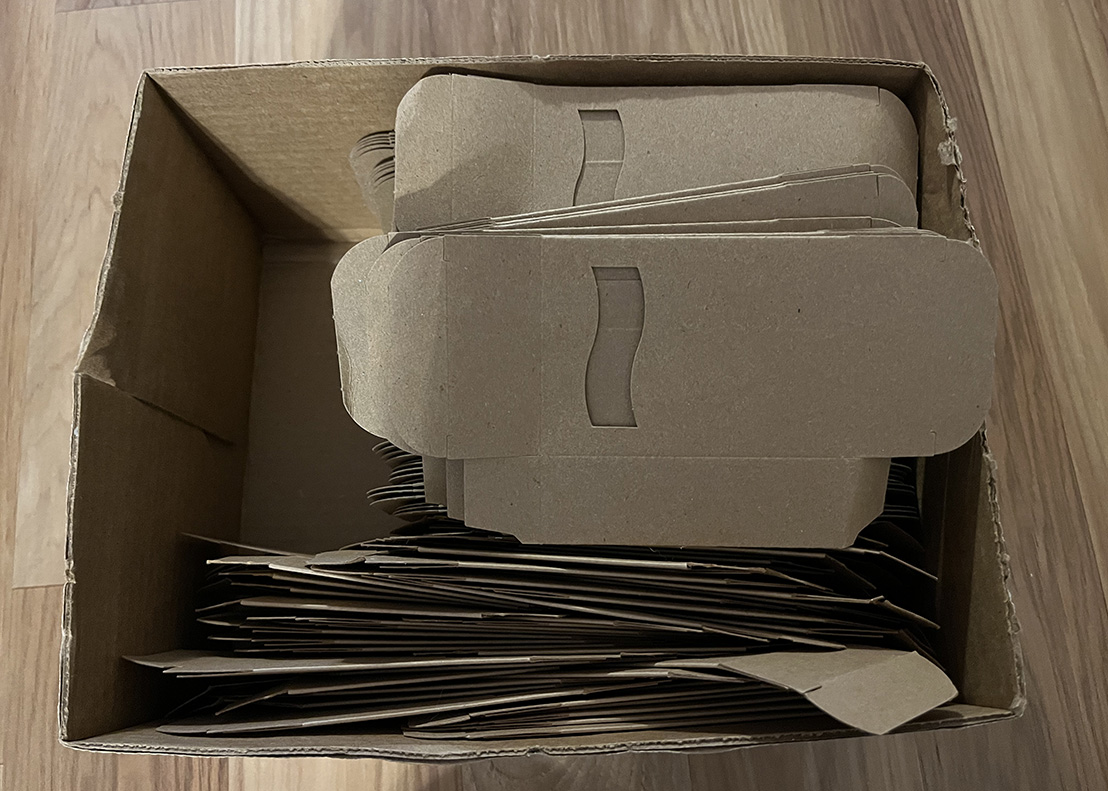
Approx. 50 Kraft Boxes 2 3/4″ x 3 13/16″ x 1 3/16″ deep – $10
The supplier sent me the WRONG size and I didn’t realize it until I’d had started to put them together. So, I undid them and they’ve been sitting in a box! Nothing wrong with them!

Approx. 100 White Boxes 2 3/4″ x 3 13/16″ x 1 3/16″ deep – $20
I ordered the wrong size boxes. These are brand new and have been sitting in these bags for ages waiting for me to find something to use them for and I finally admitted I’m just not going to use this size!

Loaf Guide Cutter 3.25″ Wide – $5
I bought this only to realize my bars/loaf was larger than the opening. This is really meant to pair with the Amazon mold. Just make sure you’re bar is less that 3.25″ wide and this will work for you!

24 oz Divided Cups – $5 Each ONE OF EACH DESIGN REMAINING
These are made from PLA and are NOT dishwasher friendly. Wash in bar water. I bought these to do fun pours with but realized that they just weren’t large enough for the batch sizes I do. I have (2) with two spaces and (2) with three spaces.

Approx. 20 oz. Sunflower Wax – $5
I was experimenting with waxes and basically decided that beeswax was my go to. I’m not going to use this so hoping to find a home. If you’re new to sunflower wax it is harder than beeswax and I find I need a lot less in my formulas than I did when using beeswax.

CADA MOLDS
Ice Cream – $5- 3″ Donut – $8
- Twinkie – $2
- Dragon Egg – $5
9 Mini Round Balls – $10- Lollipop – $5
Chill Pill – $8Unicorn Horn – $8Rocket – $8


 Posted by Jennifer